How to Install Windows 7 or 10 on Mac
I like dual booting my systems since I switch between Windows, Mac OS X and Linux fairly regularly. On a PC, I would usually dual boot Windows and Linux, and on a Mac, I usually dual boot Mac OS X and Windows. Installing Windows on a Mac may or may or may not go smooth depending on how old the Mac is. I’ve installed Windows 7 on a 2011 iMac without a problem so this procedure should work at least as far back as 2011 Macs in my personal experience. But the process itself can get convoluted and there are some pitfalls to be avoided so I decided to document it here.
Bootcamp: To Use or Not to Use?
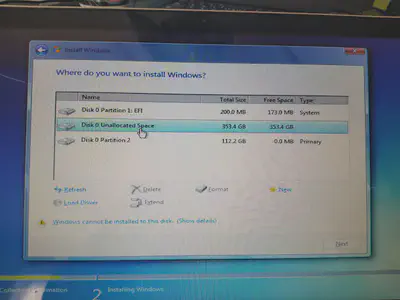
Definitely use Bootcamp. Bootcamp is Apple’s native utility for installing Windows on a Mac. Installing Windows and the relevant boot configuring without Bootcamp can be a painful and unnecessarily long process and using Bootcamp is recommended. For example, when I tried to boot my Macbook Pro off of a USB drive containing Windows installation, it got to the installation screen but then would not let me install Windows on the disk as shown below. Note that the disk was MS-FAT. It did not install even when I deleted the partition so I had plenty of unallocated space. I could not even format the unallocated space into NTFS.
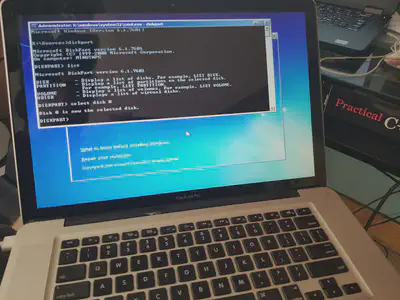
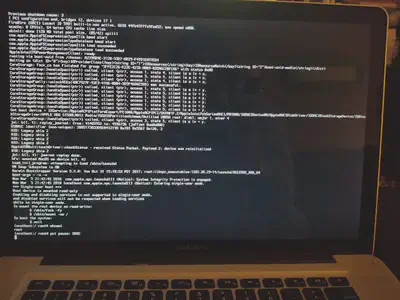
I tried to fix this from command line but it was a lot of hassle and should be avoided:
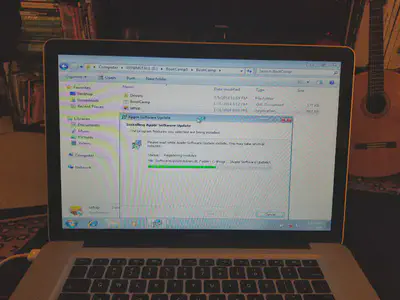
Meanwhile, I messed up the original Mac OS X installation while trying to install Windows and had to reformat the entire drive and reinstall the Mac OS:
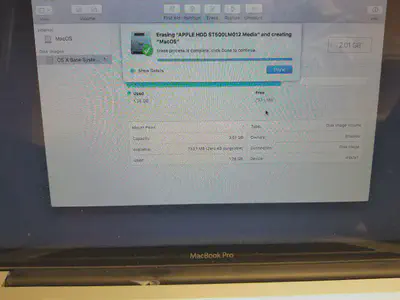
I had to reformat the hard drive because without the reformatting, it would not even show up as an option during Mac installation.
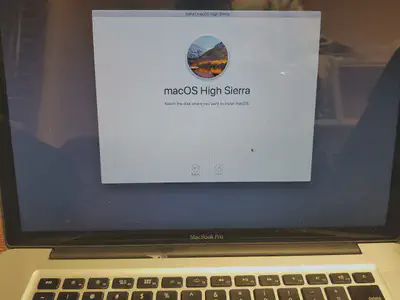
So I had to format the drive as shown before so I could reinstall the Mac OS X.
All this to show that installing Windows on a Mac without Bootcamp is an unnecessarily cumbersome activity that should be avoided.
Using Bootcamp
Apple did a great job of documenting the procedure here. Follow Apple’s instructions there to use Bootcamp. Note that you should have a Windows ISO and a USB drive ready.


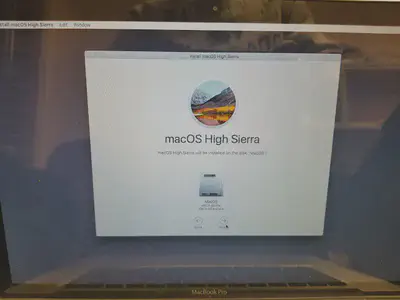
Make sure you also download the correct version of drivers needed for your particular Mac. My 2012 Macbook Pro needed version 5.1.5621. If you are installing Windows 7 like me, quit at the screen shown below to manually download the archive containing the right drivers.

Unzip the archive and place it at the root location of your thumb drive.

Next, open Bootcamp again and this time check the ‘install Windows 7 or later version’.

It now asks you to resize your partition to make room for Windows.

It is here that I encountered a strange error: “Your disk could not be partitioned. An error occurred while partitioning the disk. Please run Disk Utility to check and fix the error.”

So of course I followed the advise and ran Disk Utility ‘First Aid’ on my drive to see if it is failing. Everything seemed OK. I thought maybe I will have better luck fixing drive errors if it wasn’t mounted so I rebooted into Single User mode (Command+S) and ran ‘/sbin/fsck -fy’ to fix errors:
No luck though. The same error persisted while trying to partition the drive. Long story short, it was ‘File Vault’ on Mac that was causing the error in partitioning. File Vault is Apple’s disk encryption utility and if it is functional, it will protect the drive against manipulating by Bootcamp. So turn off File Vault. This, unfortunately, can take a bit of time as disk encryption and decryption can be slow.

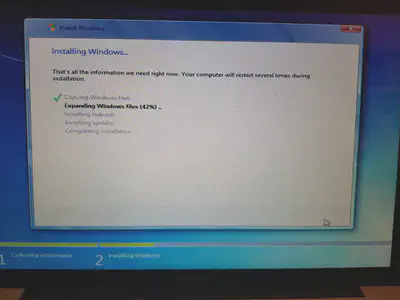
After turning off File Vault, I was able to partition the drive and the system rebooted into the thumb drive to install Windows:
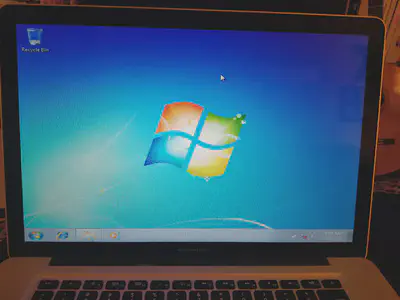
I had Windows running on the Mac in a short while but the Bootcamp drivers still needed to be installed. Otherwise, there is no network connectivity, no display drivers, no sound etc.
So we use the drivers we downloaded earlier into the root folder of the USB stick and let them install:
I still did not have the display right after all the drivers were installed. Turns out that Windows needed to update itself before that problem was fixed. So I updated Windows to the latest definitions and the display drivers for the resident NVIDIA GT 650M card on the 2012 Macbook Pro showed up right away under ‘Device Manager’.
Thus ends the dual boot saga.
Pranshu Bajpai
Principal Security Architect
Pranshu Bajpai, PhD, is a principle security architect..