Setting Up VirtualBox / Virtual Lab for Penetration Testing in Kali Linux / Backtrack
Configuring a virtual lab on your PC becomes indispensable if you wish to test different attacks under controlled conditions. You don’t always have access to shared LANs where there a lot of vulnerable machines that you’re allowed to experiment on. For example: ARP poisoning on a large LAN would bring down the network quickly, and you won’t have a good time explaining to the network administrator why you weren’t testing in an isolated environment. Hence, for numerous reasons, it is best if you work in virtual environments while testing.
Install VirtualBox on your Kali or Backtrack (or any other linux):
apt-get install virtualbox
OR
System Tools -> Add / Remove Software
Start VirtualBox after installation
Applications -> Accessories -> VirtualBox
You need to have the ISO Image of the OS you want to host on the virtualbox. (I had a Windows XP Image)
In VirtualBox Menu:
New -> Allot Name and Type of OS -> Select RAM Memory Size -> Create New Hard Disk -> VDI -> Dynamically Allocated -> Summary -> Create
Now in Main Menu of VirtualBox you’ll notice the name of the machine you just created.
Start -> Point to the ISO Image of the OS -> Follow OS installation Procedures
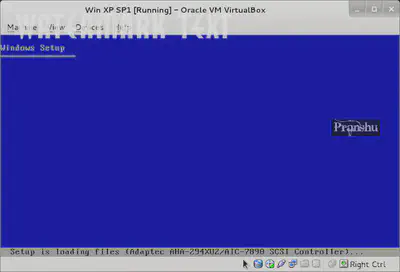
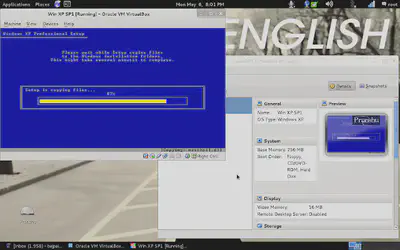
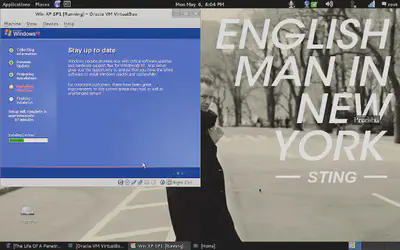
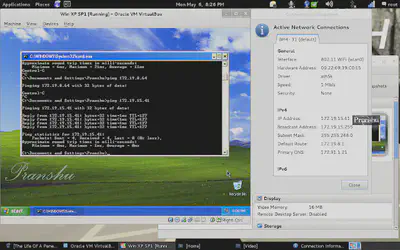
After the normal OS install procedures, you will have the virtual OS ready, running on Linux host machine.
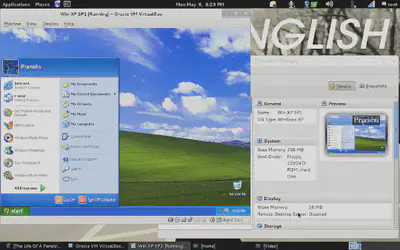
For networking between the Host and Virtual machine, I chose ‘internal’ network option in VirtualBox and I was able to ping the Host and Virtual machine from each other
You can go ahead and try simulated attacks on this Virtual OS, and it gives you more control over the experiment (as you can increase or decrease security on the vulnerable host at will).
Pranshu Bajpai
Principal Security Architect
Pranshu Bajpai, PhD, is a principle security architect..